
Recreational vehicles have long been symbols of freedom and adventure, allowing individuals to travel and appreciate the world's beauty firsthand. These versatile vehicles resemble a home away from home, equipped with all essential comforts for travel. Yet, amidst the thrill of RV ownership and the allure of new destinations, the importance of proper RV washing can be overlooked.
The importance of a clean and well-maintained RV cannot be overstated. Beyond the visual appeal, regular washing is pivotal in preserving the vehicle's functionality and longevity. It also helps prevent corrosion and enhance resale value. This article addresses the frequent errors many RV owners inadvertently commit during their cleaning routines and offers expert insights to evade such missteps. By imbibing lessons from these pitfalls, enthusiasts can economize time and money while safeguarding their investment.
Mistake 1: Using the Wrong Cleaning Products

When washing your RV, selecting appropriate cleaning products is paramount to preserve its appearance and longevity. Using incorrect or harsh cleaning agents can lead to irreversible damage to the RV's exterior surfaces. It's essential to avoid the following mistakes in this regard:
- Choosing Harsh Chemicals: Utilizing abrasive or corrosive chemicals can strip away the protective wax and clear coat on your RV's surface. This exposes the underlying paint to potential fading, chalking, or oxidation. To prevent this, opt for RV-specific cleaning solutions formulated to clean without causing harm.
- Using Household Cleaners: Common household cleaners like dish soap or laundry detergents might seem convenient, but they can contain ingredients that harm the RV's finish. These cleaners can strip away protective coatings and leave residue behind, negatively affecting the overall appearance.
- Abrasive Scrubbing Materials: Rough brushes or abrasive scrubbing pads can scratch the RV's paint, leading to unsightly swirl marks. Using soft, non-abrasive materials specifically designed for RV wash is crucial.
- Unverified DIY Mixtures: While homemade cleaning concoctions might be cost-effective, they can be risky. Ingredients like vinegar or lemon juice, often touted as natural cleaners, might cause damage due to their acidic nature. Stick to proven, RV-safe cleaning products.
To avoid these pitfalls, look for cleaning products labeled as safe for RV use. These products are formulated to clean effectively without compromising your RV's exterior. Read product labels carefully and follow manufacturers' guidelines to ensure you're using the right cleaning agents. Ultimately, the correct choice of cleaning products will contribute to maintaining your RV's appearance and value over time.
Mistake 2: Not Preparing the Surface
Properly preparing the surface of your RV before washing is a crucial step that often gets overlooked. Neglecting this preparation can compromise the effectiveness of the cleaning process and potentially cause damage to the vehicle. Here's what you need to know to avoid this mistake:
- Rinsing Away Loose Dirt: Thoroughly rinse the RV's exterior with water before applying any cleaning solution or scrubbing. This step helps remove loose dirt, debris, and contaminants that could scratch the surface during washing.
- Using Pre-Wash Products: Consider using pre-wash products or snow foam to loosen dirt and grime further. These products help break down stubborn residues, making them easier to remove without excessive scrubbing.
- Avoid Dry Wiping: Never start washing without some form of pre-rinse. Dry wiping or dry dusting the surface can lead to scratches caused by rubbing abrasive particles against the paint.
- Multiple Rinse Cycles: In cases of heavy soiling or if the RV has been parked under trees, it's advisable to perform multiple rinse cycles. This ensures that all loose dirt is completely removed before you wash.
- Inspecting for Stubborn Contaminants: After the initial rinse, inspect the surface for any stubborn contaminants like bird droppings or tree sap. Address these areas with specific spot treatments before proceeding to the general wash.
- Avoid High-Pressure Sprayers: While using a pressure washer for the initial rinse is common, avoid using high-pressure settings close to the RV's surface. High-pressure water can force contaminants deeper into the paint, causing damage.
Taking the time to prepare the surface of your RV ensures that the subsequent washing steps are more effective and less likely to cause scratches or other damage. Thoroughly rinsing and using appropriate pre-wash products contribute to a smoother and safer cleaning process. This diligent approach helps preserve your RV's finish and maintains its appearance for the long term.
Mistake 3: Neglecting Proper Equipment
Using the right equipment for washing your RV is essential to prevent damage and achieve a thorough and effective cleaning. Neglecting proper equipment can lead to subpar results and potentially harm your vehicle's surfaces. Here's what you need to know about this mistake:
- Appropriate Brushes and Mitts: Choose soft-bristle brushes, microfiber mitts, or wash pads designed for washing vehicles. These tools lift dirt and grime effectively while minimizing the risk of scratching the RV's paint finish.
- Grit Guards for Buckets: Placing grit guards at the bottom of your wash buckets helps prevent reintroducing dirt and debris onto the cleaning tools. This reduces the chances of scratching the RV's surface during the wash.
- Microfiber Towels for Drying: Opt for clean, high-quality microfiber towels for drying your RV after a wash. Microfiber towels are absorbent and gentle on the surface, reducing the risk of water spots and streaks.
- Long-Handle Brushes for Hard-to-Reach Areas: Invest in brushes with long handles or extensions to reach difficult areas like the roof, awning, and wheel wells. This ensures a thorough cleaning without straining or contorting yourself.
- Pressure Washers with Proper Attachments: When using a pressure washer, attach a nozzle designed for washing vehicles. High-pressure settings or narrow nozzles can damage paint and seals. Maintain a safe distance from the RV's surface when using a pressure washer.
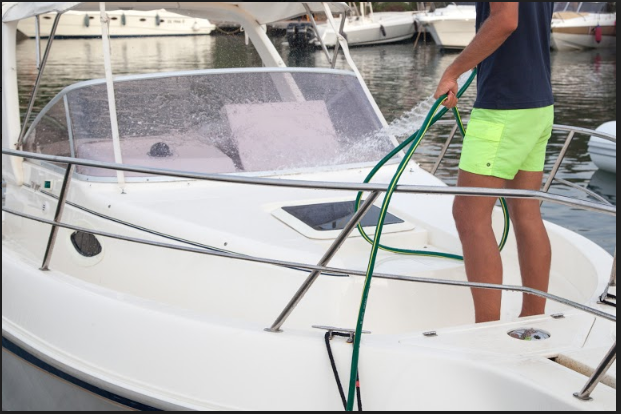
- Hose with Adjustable Nozzle: An adjustable hose nozzle is valuable for those not using a pressure washer. You can control water pressure to effectively rinse and clean the RV without risking damage.
- Wheel Brushes: To clean RV wheels and tires effectively, use specialized wheel brushes designed to reach tight spaces and remove brake dust and grime without scratching.
- Crawling Mats: When cleaning the lower portions of your RV, use crawling mats or foam knee pads to protect your knees and provide comfort during extended cleaning periods.
Using appropriate equipment ensures that the cleaning process is efficient, safe, and effective. By selecting tools specifically designed for RV washing, you minimize the risk of causing damage to your vehicle's surfaces. Paying attention to the details of your equipment choices contributes to maintaining the appearance and value of your RV over time.
Mistake 4: Washing in Direct Sunlight
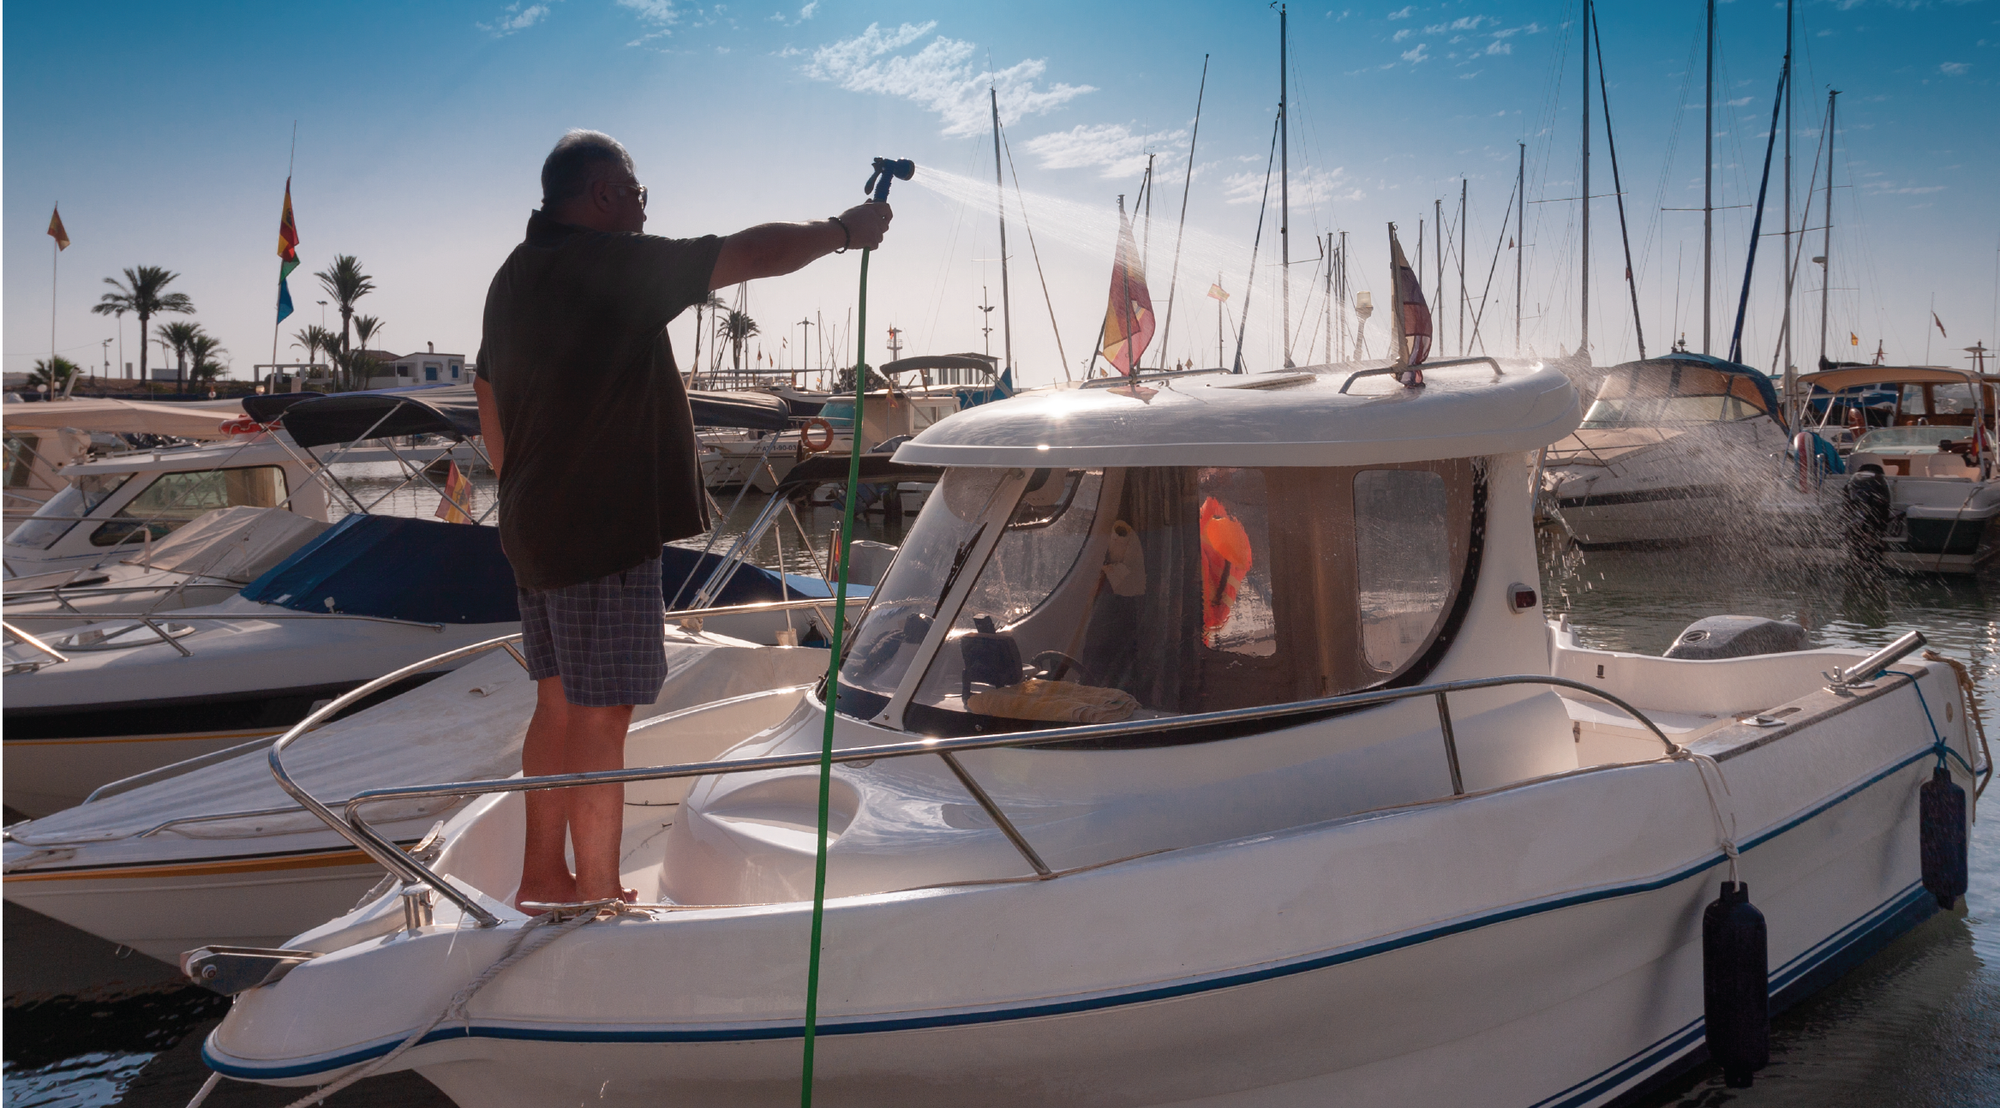
Washing your RV in direct sunlight might seem convenient, but it can lead to a range of issues that compromise the quality of your cleaning and the condition of your vehicle. Here's a clear understanding of why washing your RV in direct sunlight is a mistake to avoid:
- Uneven Drying: The intense heat of the sun causes water and cleaning solutions to evaporate quickly. This leads to uneven drying, leaving behind water spots and streaks on your RV's surface.
- Premature Drying of Cleaning Agents: When cleaning solutions dry too fast, they don’t have sufficient time to break down and lift off dirt and grime. This results in ineffective cleaning and the need for additional scrubbing, increasing the risk of scratching the RV's finish.
- High Temperatures Affect Cleaning Products: Some cleaning products might react negatively to high temperatures, affecting their effectiveness. For instance, soaps and detergents could become less foamy and lose their cleaning power.
- Potential Damage to Rubber Seals and Surfaces: Direct sunlight can cause rubber seals and surfaces to heat up significantly. Applying cold water or cleaning agents to hot surfaces can cause rapid contraction, potentially damaging seals and surfaces over time.
- Physical Discomfort: Washing under the scorching sun can be physically taxing. Exposure to high temperatures for an extended period can lead to discomfort, fatigue, and even heat-related health concerns.
To avoid this mistake, choose a time for RV washing when the sun is less intense, such as early morning or late afternoon. This ensures that cleaning solutions have ample time to work effectively and that drying is more even, minimizing the risk of water spots. Additionally, washing in shaded areas or on overcast days can provide a more comfortable environment for you and help maintain the quality of your RV's exterior surfaces.
Mistake 5: Using Incorrect Washing Techniques
Employing incorrect washing techniques while cleaning your RV can lead to unintended damage to its exterior surfaces. Adhering to proper washing methods is crucial for maintaining the appearance and value of your RV. Here's a comprehensive overview of this mistake:
- Top-Down Cleaning: Begin washing from the top of your RV and work your way down. This prevents dirty water from running over already cleaned areas, minimizing the risk of streaks and water spots.
- Gentle Wiping Motions: Use gentle, straight-line wiping motions instead of circular or aggressive scrubbing. Circular motions can create swirl marks, while aggressive scrubbing can scratch the paint.
- Rinse After Each Section: After washing a section, promptly rinse it before moving on to the next. This prevents soap from drying on the surface, reducing the chances of residue buildup.
- Avoid Pressure Washer Up Close: If using a pressure washer, maintain a safe distance from the RV's surface. Holding the nozzle too close can strip paint, force water into seals, and cause damage.
- Separate Brushes for Wheels: Use separate brushes for cleaning wheels and tires to avoid transferring abrasive particles to the RV's body. Contaminants from wheels can scratch the paint.
- Don't Allow Soap to Dry: Ensure that soap or cleaning solution doesn't dry on the surface. Wash and rinse smaller sections at a time to prevent premature drying of the cleaning agents.
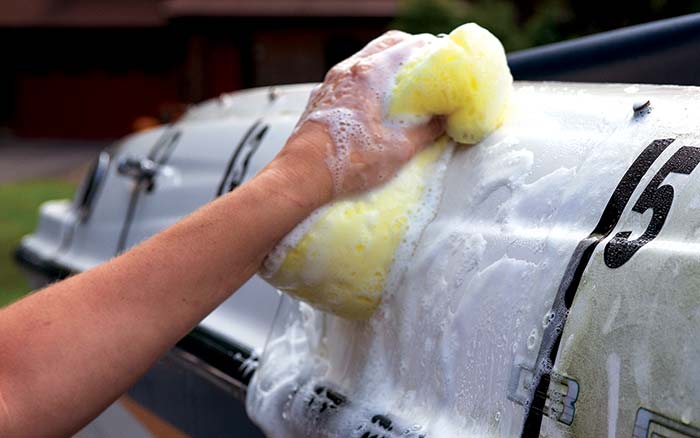
- Use Soft, Non-Abrasive Materials: Opt for soft materials like microfiber wash mitts or lambswool mitts that gently lift dirt without scratching. Avoid using rough sponges or brushes that can damage the finish.
- Be Cautious with Bug Removal: Bugs can be tough to remove, but avoid scraping them off with excessive force. Soak a clean cloth in water or a specialized bug remover before gently wiping them away.
By following these proper washing techniques, you minimize the risk of damaging your RV's exterior. Employing gentle motions, maintaining a methodical approach, and using suitable tools contribute to preserving your RV's appearance and safeguarding its paint finish.
Mistake 6: Ignoring Awning and Roof Care
Neglecting RV roof and awning care can lead to long-term damage, affecting both aesthetics and functionality. Proper maintenance of these areas is essential to prevent costly repairs and maintain the overall condition of your RV. Here's a detailed explanation of this mistake:
- Awning Cleaning: Regularly clean your RV's awning to prevent the accumulation of dirt, debris, bird droppings, and mold. A dirty awning not only looks unsightly but can also deteriorate over time.
- Appropriate Cleaning Solutions: Use mild soap or specialized awning cleaners recommended by the manufacturer. Avoid harsh chemicals that could damage the awning fabric or strip away protective coatings.
- Gentle Scrubbing: If scrubbing is necessary, use a soft-bristle brush to avoid damaging the awning material. Scrub gently to remove dirt without causing tears or weakening the fabric.
- Rinsing and Drying: Thoroughly rinse the awning after cleaning to remove all traces of soap. Let the awning dry completely before retracting it to prevent mold growth and odors.
- Roof Inspection: Regular inspection of RV roofs for signs of wear, cracks, or damage is recommended. Address any issues promptly to prevent water leaks that can lead to interior damage.
- Roof Cleaning: Clean the RV roof with a non-abrasive cleaner, brush, or mop with an extendable handle. Remove leaves, dirt, and debris that can clog drainage systems and cause water pooling.
- Roof Seals and Caulking: Check roof seals, caulking, and seams for any signs of deterioration. Reapply sealant or caulking as needed to maintain a watertight seal.
-
Preventive Measures: Use an RV cover or park in an open area to minimize the accumulation of leaves, branches, and sap on the roof and awning when parking under trees.
- Seasonal Care: Before storage or winter, give special attention to cleaning and inspecting the awning and roof. This ensures that your RV remains in good condition during periods of inactivity.
Taking care of your RV's awning and roof is integral to overall maintenance. Regular cleaning, inspection, and prompt repairs contribute to the longevity of these components and prevent potential problems that can arise from neglecting their care.
Mistake 7: Skipping the Rinse
Neglecting a thorough rinse after washing your RV can lead to unwanted residues, streaks, and potential damage to the vehicle's exterior. Proper rinsing is a crucial step to ensure a spotless finish. Here's a comprehensive explanation of this mistake:
- Soap Residue Buildup: Failing to rinse the RV thoroughly can leave behind soap residue on the surface. This residue can attract dirt, causing the RV to appear dirty shortly after washing.
- Water Spots: Without proper rinsing, water droplets can evaporate, leaving behind mineral deposits that manifest as water spots. These spots can be difficult to remove and can mar the RV's appearance.
- Streaking: Incomplete rinsing can result in streaks and uneven drying. This compromises the overall cleanliness and diminishes the polished look of the RV.
- Effect on Protective Coatings: Leftover soap can degrade protective wax or sealants on the RV's surface, reducing their effectiveness in safeguarding the paint finish from environmental factors.
- Glass and Mirrors: Skipping the rinse step can leave glass and mirrors streaked and hazy. Proper rinsing ensures that these areas dry without blemishes.
- Avoid Premature Drying: Ensuring a thorough rinse minimizes the chances of soap drying prematurely, allowing you to complete the wash without excessive scrubbing.
To avoid this mistake, allocate sufficient time for rinsing. Use a gentle stream of water to remove all traces of soap from the surface, paying particular attention to crevices and hard-to-reach areas. This step not only enhances the appearance of your RV but also prevents long-term damage caused by soap residue and water spots. Thorough rinsing is a key component of an effective and successful RV washing routine.
Mistake 8: Forgetting About Wheels and Undercarriage
Overlooking the cleaning and maintenance of your RV's wheels and undercarriage can lead to corrosion, reduced functionality, and a deteriorating appearance. Proper care of these areas is essential for ensuring the overall health and longevity of your RV. Here's a comprehensive overview of this mistake:
- Brake Dust and Grime: Wheels accumulate brake dust, road grime, and debris that can corrode the finish over time. Neglecting this area may result in unappealing stubborn stains and a reduction in wheel performance.
- Corrosion Risks: Road salt, mud, and other contaminants can accumulate in the undercarriage, leading to rust and corrosion. Regular cleaning minimizes these risks and extends the life of vital components.
- Aesthetic Impact: Clean wheels and a well-maintained undercarriage contribute to the overall appearance of your RV. Neglected areas can detract from its visual appeal.
- Wheel Well Inspection: Cleaning the wheel wells allows you to inspect for any signs of damage or wear, such as loose parts, worn suspension components, or leaks.
- Proper Cleaning Techniques: Use appropriate brushes and cleaners designed for wheels and undercarriage. These products effectively remove dirt and grime without harming sensitive parts.
- Undercarriage Sprays: Consider using specialized undercarriage sprays that provide a protective coating against rust and corrosion. These sprays can help shield vulnerable areas from environmental elements.
- Regular Maintenance: Integrate wheel and undercarriage cleaning into your routine maintenance schedule. Depending on road conditions, this may be necessary more frequently.
- Protective Measures: Apply a layer of wax or sealant to wheels after cleaning to repel dirt and make future cleaning easier. For the undercarriage, consider using products specifically designed to prevent corrosion.
By consistently attending to the wheels and undercarriage, you not only preserve the appearance of your RV but also ensure its optimal functionality and value. Regular cleaning and proper maintenance of these areas safeguard against the detrimental effects of dirt, grime, and corrosive substances, ultimately extending the life of your RV.
Mistake 9: Drying Improperly
Inadequate drying after an RV wash can result in unsightly water spots, streaks, and potential damage to the finish. Proper drying techniques are crucial for maintaining a polished appearance and preventing issues caused by trapped moisture. Here's a comprehensive explanation of this mistake:
- Water Spot Formation: When water droplets evaporate on the RV's surface, they can leave behind mineral deposits, leading to water spots that mar the finish.
- Streaking and Smudging: Incomplete drying can result in streaks and smudges on the surface, diminishing the clean and polished look you aim to achieve.
- Moisture Damage: Trapped moisture in seams, joints, and crevices can lead to rust, corrosion, and degradation of seals and caulking over time.
- Effect on Protective Coatings: Leaving water to air-dry can degrade protective coatings like wax or sealants, reducing their ability to safeguard the paint from environmental factors.
- Avoiding Scratches: Drying with improper materials can inadvertently cause scratches or swirl marks on the RV's finish.
- Microfiber Towels: Use clean, soft, and highly absorbent microfiber towels for drying. These towels effectively soak up extra water and minimize the risk of water spots.
- Gentle Patting Motions: Instead of rubbing, gently pat the surface with the microfiber towel to absorb water. This approach minimizes the risk of scratching.
- Drying Aids: Consider using a drying aid or quick detailer spray as you dry. These products help lubricate the surface and enhance the drying process while adding a layer of protection.
- Compressed Air: If available, use compressed air to blow water out of crevices and joints where towels might not reach easily.
- Multiple Towels: Have multiple microfiber towels on hand to switch to a fresh towel as the first becomes saturated. This ensures thorough drying without spreading moisture.
By employing proper drying techniques, you eliminate the risk of water spots, streaks, and moisture-related damage to your RV. A methodical and gentle approach using high-quality microfiber towels aids in achieving a spotless, streak-free, and well-preserved finish.
Mistake 10: Not Following Up with Protective Measures
After washing your RV, failing to apply protective measures such as wax or sealant can expose its exterior to environmental elements and hasten its deterioration. Properly sealing and protecting the paint finish is essential for maintaining the appearance and value of your RV. Here's a comprehensive explanation of this mistake:
- UV Protection: Exposure to UV rays can cause paint fading, chalking, and oxidation over time. Protective products like wax or sealant provide a barrier against UV damage.
- Environmental Contaminants: Rain, bird droppings, tree sap, and pollutants can harm the RV's paint. A protective layer makes it easier to clean these contaminants without causing damage.
- Water Repellency: Quality wax or sealant enhances water beading and runoff. This prevents water from sitting on the surface, reducing the risk of water spots and streaks.
- Easier Cleaning: A well-sealed surface is easier to clean as dirt and grime have a harder time adhering. This reduces the need for aggressive scrubbing that could damage the finish.
- Long-Term Finish Preservation: Regularly applying protective products extends the life of your RV's paint finish, keeping it looking new for years.
- Wax vs. Sealant: Wax provides a natural shine and is easier to apply, but sealants offer longer-lasting protection. Some products combine the benefits of both.
- Application Frequency: How often you need to reapply wax or sealant depends on factors such as weather conditions, exposure, and product type. As a general guideline, aim for at least twice a year.
- Preparation: Before applying protective products, ensure the surface is clean and free of contaminants. This prevents sealing in dirt or debris.
- Proper Application: Follow the manufacturer's instructions for applying wax or sealant. Apply thin, even coats using an applicator pad and allow the product to cure as recommended.
- Consider Professional Detailing: If you lack the skill and knowledge to complete the task yourself, consider professional detailing services that offer specialized treatments for RVs.
By following up your washing routine with protective products, you safeguard your RV's exterior against the effects of weather, contaminants, and time. Regular maintenance not only maintains the appearance but also preserves the value of your investment over the long term.
As you embark on your RV care and maintenance journey, avoiding these top 10 washing mistakes will serve as a foundation for preserving your vehicle's appearance and value. Adhering to the tips and tricks outlined in this guide ensures a thorough and effective cleaning process that safeguards your RV's exterior from damage and deterioration. Remember, consistency is key. Regular washing routines, attention to often overlooked areas, and applying protective measures like wax or sealant will keep your RV looking pristine and ready for new adventures. Embrace these practices as an investment in your cherished RV's long-term aesthetics and resale value, allowing you to enjoy countless memorable travels in a well-maintained and visually appealing vehicle.
When it comes to maintaining the pristine appearance of your RV and avoiding common washing mistakes, Poli Glow® offers two distinct cleaning solutions: Poli Wash™ and Poli Wash Pro™, each designed to cater to specific cleaning needs. Poli Wash™ is a versatile cleaner designed for regular upkeep, effectively removing dirt and grime from various surfaces such as fiberglass, gel coat, and painted areas. For more challenging cleaning tasks, there's Poli Wash Pro™, a powerful cleaning agent capable of tackling stubborn marks, oxidation, and deeply ingrained dirt. Both products ensure a thorough and safe cleaning process for your RV, contributing to the longevity and pristine appearance of your vehicle. By incorporating these cleaning solutions into your RV washing routine, you can enhance the overall cleaning process and set the stage for further detailing or protection treatments.